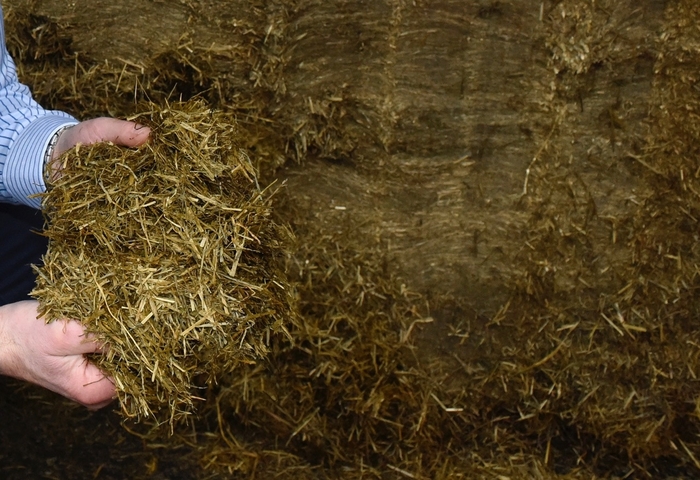
Dairy farmers looking to produce more milk from forage should view grass silage clamps as much more than a forage store. Instead, open silage clamps provide an invaluable source of information, which can help improve silage-making next year.
That is the message from silage specialist, Derek Nelson of Volac, who says silage quality and quantity can have a major impact on the financial health of dairy farms for six months or more, so it is worth reviewing open silage clamps now to learn lessons for next year.
It’s only when you get stuck into seeing what’s inside the clamp, and feeding it, that you get a full picture of what you’ve produced and how good it is,” explains Mr Nelson.
“Commit to noting down the good and bad points of the silage now, so you can make any necessary improvement next season. Better still, take photos as well.”
To help with the process, Mr Nelson suggests a simple five-point checklist of the open grass silage clamp:
Five- point checklist for silage clamp
- How does the clamp look?
To begin, make an honest appraisal of whether the silage clamp is tidy, says Mr Nelson, or whether the face is non-uniform, and allowing air to get in. “Correcting an untidy face can make a big difference to reducing air ingress and surface wastage,” says Mr Nelson. “Deeper waste can be due to a poor fermentation, so management may need improving – such as clamp consolidation, silage additive use, and clamp sealing. Inadequate consolidation is a big problem nowadays, with trailers arriving at the silage clamp too soon before the previous grass load has been fully compacted. If darker, black layers are present in silage, it can be a sign that excess nitrogen was present in the grass at harvest. When applying nitrogen, consider how long it will be before you start to harvest,” he adds.
2. Temperature – how cool is it?
Another indicator of silage quality is temperature, says Mr Nelson. “If it’s warm, that’s a sign of aerobic spoilage, caused by yeasts and moulds in the presence of air. These effectively burn up the silage’s nutrients. Again, consolidation and clamp sealing may need improving. Unfortunately, problems with heating in the silage clamp won’t go away when exposed to more air at feed-out – so you may need to consider an additive at feed-out designed to reduce heating in the feed trough.”
3. Smell – what does it smell like?
Check whether the silage smells sweet or unpleasant, says Mr Nelson. If unpleasant, it could be signs of a poor fermentation or the wrong type of fermentation caused by undesirable microbes, he notes. “As with aerobic spoilage, this means some of its feed value could already be lost. You may have done all the other ensiling steps well, but if the fermentation hasn’t been dominated by good bacteria, your other good efforts could be undermined.”
4. Feel – how does it feel?
Check how the silage feels, urges Mr Nelson. “If it’s gone slimy, this can also be due to excess nitrogen at harvest,” he says, “and to low sugars and a poor fermentation allowing undesirable microbes to take hold. These start to break down what’s in the silage clamp. Check also whether the silage is leafier or more fibrous than you were expecting. Fibrous silage suggests it was cut too late – for example if cutting was delayed in pursuit of extra bulk. Optimum cutting time for both yield and quality is just before heading. After heading, the digestibility of grass falls by about 0.5% a day.”
5. Moisture – how wet or dry is it?
Finally, assess silage moisture content, says Mr Nelson. “If it’s wetter or drier than expected, wilting technique may need re-checking. Wilting rapidly to 28-32% dry matter is the optimum for both minimising in-field losses and minimising effluent risk in the silage clamp. If the silage is wetter than the grass put into the clamp, this can be a sign of a slow, inefficient fermentation, since a by-product of slow fermentation is water. Using a proven additive will reduce this risk.”


